
Workshop guide
Bambu Studio: the settings that matter, and the ones to leave alone
Good slicing is less about finding a magical profile than making a few sound decisions in the right order. Here is a practical route from STL to a print you can send with confidence.
0.20 mmsolid starting layer height
15%typical decorative infill
1 checkalways make in Preview
The workflow
Start with the part, not the settings panel.
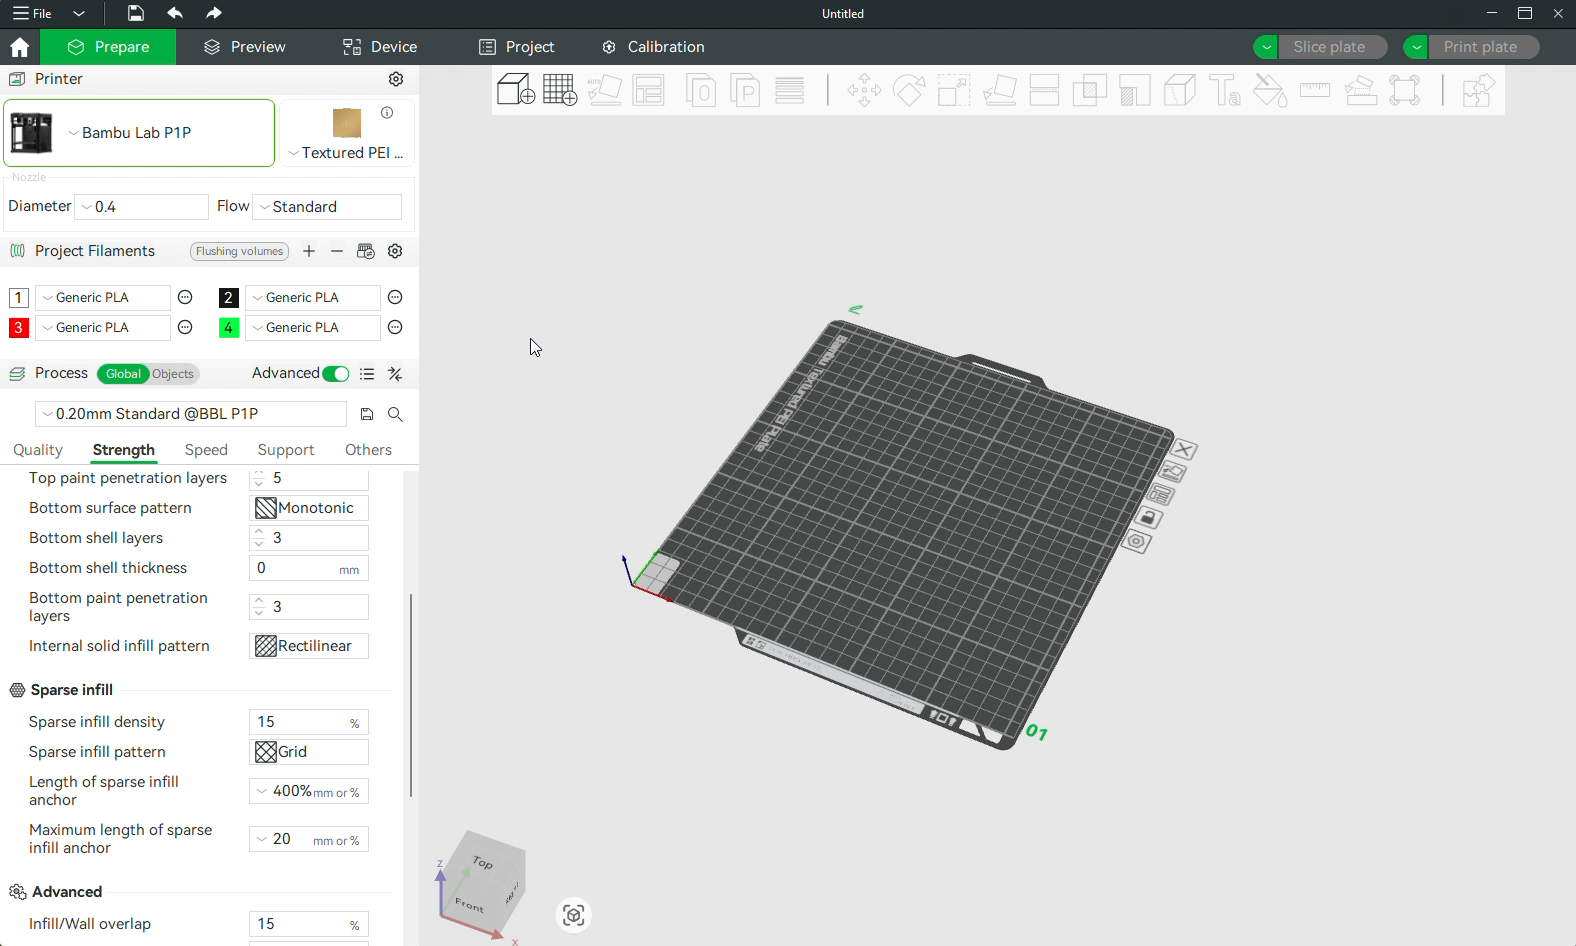
Bambu Studio can look like a cockpit, especially once Advanced mode is switched on. The fastest way to make a mediocre print is to treat every field as a problem waiting to be solved. Instead, begin with the object: what direction will it be strongest in, which faces will be seen, where can it sit flat, and does it actually need support?
Import the STL by dragging it onto the plate or using File → Import. From there, the useful tools are close at hand: move, rotate, scale and Lay on Face. Use Auto Arrange when a plate holds several parts. The Cut tool is equally practical; splitting a large model can bring it inside the build volume or turn a support-heavy orientation into two clean, easy prints.
Orient the part, choose the printer and material profile, set the strength and finish you need, then slice and inspect the result. Changing settings before orientation only creates unnecessary work.
The settings that matter
Five decisions carry most of the result.
A good default profile gets you remarkably far. The adjustments below are the ones worth understanding because they change the part in ways you can see or use. Everything else can stay at its tested default until the preview or a previous print gives you a reason to intervene.
Layer height
Start at 0.20 mmIt is the dependable baseline for a 0.4 mm nozzle. Go lower when surface detail is worth the extra time, not by reflex.
Walls and shells
Strength starts at the perimeterTwo or three walls are a sensible default. Add walls for a working part before reaching for extreme infill.
Infill
Match it to the jobAround 15% is usually enough for a decorative object; 30–40% is a more realistic starting point for a functional part.
Outer-wall speed
Slow it when looks matterReducing the outer-wall speed is one of the cleanest ways to trade a little time for a better visible finish.
Volumetric flow
Respect the material limitThe hot end can only melt so much plastic reliably. Treat the profile’s flow limit as a quality control, not a speed challenge.
Material profiles are more useful than generic speed bravado.
In Bambu Studio, speed is not one number. It is a set of speeds for walls, infill, travel and small features, plus acceleration and the volumetric flow limit hidden in the material profile. For PLA and PETG on a Bambu printer, the stock profiles are already quick. If visible quality starts to slip, lower outer-wall speed before taking a blunt instrument to the whole profile. If layer shifts or vibration appear, reduce acceleration rather than hoping more speed will solve it.
Flow limit deserves particular respect. A generic PLA profile may allow roughly 12 mm³/s, PETG closer to 8–9 mm³/s, and TPU far less—around 3 mm³/s. These are profile-level guideposts, not numbers to copy blindly between machines and filaments. The important idea is simple: a nozzle that is asked to melt plastic faster than it can will make a fast print look cheap.
Preview before printing
The slicer preview is where a job becomes believable.
Hit Slice Plate, then take the estimate as a first report rather than a final answer. Bambu Studio will show print time, filament use, cost and a layer-by-layer G-code playback. Spend a minute with it. Look at the first layers, bridges, support contact points, the seam position and any small features that may be printed too quickly. This is the cheapest moment to catch a bad orientation, an accidental support forest or a colour change that is happening on the wrong layer.
For a multi-part plate, this review also matters operationally. The mobile app and printer controls can be used to monitor a job, and on supported Bambu setups it is possible to skip a failed item rather than losing an otherwise successful plate. Good preparation makes that the exception, but it is a useful escape hatch.
Do not send a print until you have inspected the first layers and the places where the model changes direction, bridges open space or asks for support. That minute often saves hours.
Useful tricks
Use the tools that remove problems, not just the ones that add options.
Place the seam deliberately
The seam setting chooses where each layer begins and ends. Move it to a rear or hidden face when the visible side of a part matters.
Support only where it earns its keep
Start with build-plate-only support when possible. Use manual support painting for the few overhangs that truly need help, and avoid making removal work harder than the print itself.
Use a brim for a reason
A brim is useful when contact with the plate is small or narrow. It is not a substitute for a clean plate, an appropriate material profile or sound part orientation.
Use colour tools with a plan
With AMS or AMS Lite, colour can be assigned by object, at a layer height or with the Paint tool. Layer-based changes are efficient for a simple badge; painting a single STL is better reserved for details worth the purge time.
Final word
Leave the defaults alone until the part gives you a reason not to.
Bambu Studio is at its best when it turns a good preparation habit into a repeatable workflow. It imports and arranges models without fuss, makes strong defaults accessible, and gives you a clear preview before anything reaches the printer. Learn the handful of settings that change the result; let the rest stay boring. That is how the slicer becomes a tool rather than a second hobby.
Read the QIDI Q1 Pro review